Introduction #
A Query Loop is an advanced WordPress block that allows customisation of the layout and content of any web page by displaying filtered posts. For example, an item reporting a group’s activity can be displayed both on the group’s page and in the current news section.
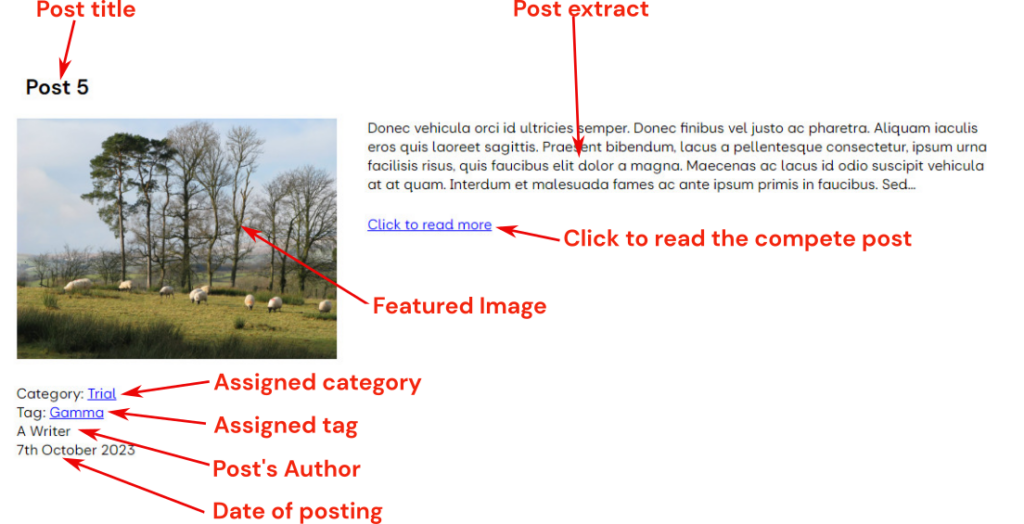
A Query Loop can display posts in various layouts using one of the predefined WordPress patterns, or the content creator can develop their own. In addition, posts can be shown in date order, as an extract with a ‘read more’ link, with a featured image, etc.
Overview #
It is recommended that content creators understand the concept of a post before adding a Query Loop to a u3a site, in particular, the use of categories and tags.
The display of posts using a Query Loop, which, when correctly configured, displays related posts at a single location. The Query Loop block is an advanced block that allows the display of posts based on specified parameters. With additional blocks provided in the block menu, the content creator can create dynamic pages that will enable an easy route for Group Leaders to add information regarding current or future activities.
It should be noted that SiteWorks also uses WordPress Posts to display group, event, and venue information. Hence, the Query Loop can extend and/or add additional features to a u3as site, see here.
Depending on how the Query Loop is configured, a wide range of content can be displayed:
Defining the Query #
Additional information on configuring the Query Loop is provided in this blog article.
By defining the query, the content creator defines where and how posts are displayed. The following options are available:
- Order by
- Newest to Oldest (default)
- Oldest to Newest
- Alphabetical A to Z
- Alphabetical Z to A
- Sticky posts
- Include (default) – Displays sticky posts.
- Exclude – Removes sticky posts.
- Only – Shows only sticky posts.
- Filters
- Taxonomies
- Categories – List the categories to be included.
- Tags – List the tags to be included.
- Keyword – Enter any keywords you want included.
- Author – disabled in SiteWorks as a security measure.
- Taxonomies
The display of a specific post depends on how it is “indexed” using Categories and Tags. To illustrate this approach, consider the following six posts, with their associated categories and tags:
| Post Number | Category | Tag |
|---|---|---|
| Post 1 | Alpha | Upper |
| Post 2 | Beta | Middle, Upper |
| Post 3 | Beta | Middle |
| Post 4 | Alpha | Lower, Upper |
| Post 5 | Beta | Lower |
| Post 6 | Gamma | High |
Depending on the settings of the Category and Tag filter in the Query Loop when it is created, these posts can be displayed, as shown below:
| Category | Tag | Post(s) Displayed |
|---|---|---|
| – | – | 1,2,3,4,5,6 |
| Alpha, Beta | – | 1,2,3,4,5 |
| Alpha | – | 1,4 |
| Beta | – | 2,3,5 |
| Beta | Lower | 5 |
| Alpha, Beta | Lower | 4,5 |
| Alpha, Beta | Upper | 1,2,4 |
Creating a Query Loop #
Using the Block Inserter at the required location, select Query Loop from the Themes section of the block browser. On selection, the following options appear:
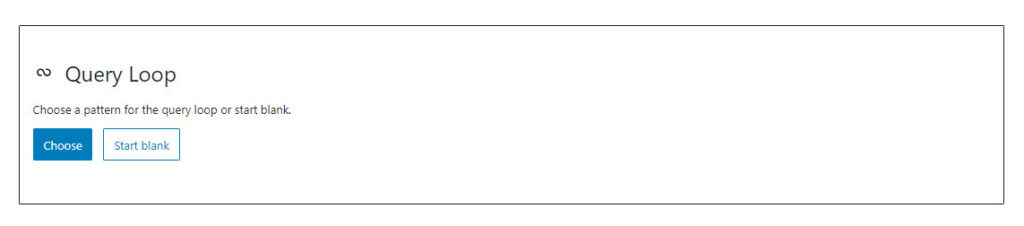
The Query Loop provides two options. To determine how a post appears on your website, you can select either Choose or Start Blank
- Chose provides predefined patterns, including Standard, Featured Image to the Left, Small Featured Image and Title, Grid, etc. The patterns show how currently available posts appear in each format.
- Start Blank provides initial templates that the user can modify.
Either option will allow the creation of a Query Loop, with several common steps. The Start Blank approach is discussed first as it provides a clearer understanding of the operation and configuration of a query loop.
Using the Start Blank Option #
If the content creator wishes to configure the query loop independently, then Query Loop ⇒Start blank should be selected, which gives these options:
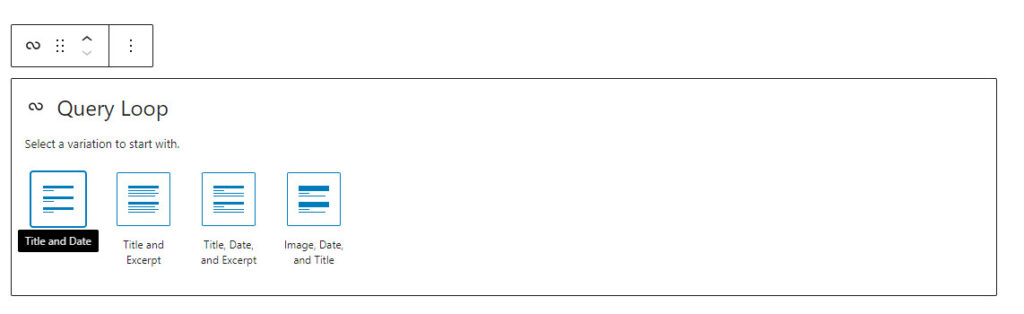
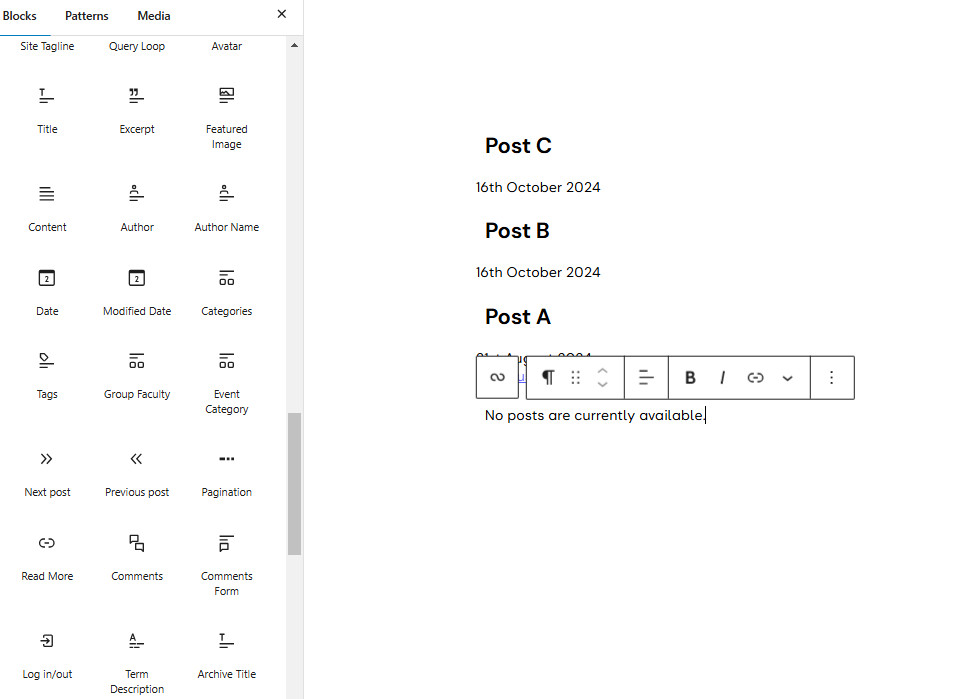
Selecting Title and Date gives a minimal display of an individual post. The other three options provide additional features. The editing page will now show ALL posts ordered by entry time and date, as no filters have been applied, for example:
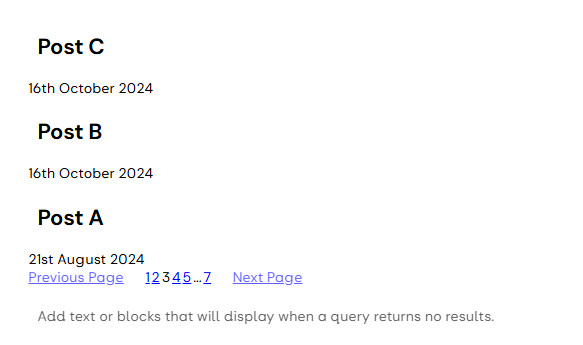
The “Add text or Block that will be displayed when a query returns no results” comment should be replaced with either text or a block as required. If nothing is entered, nothing is displayed on the website, which may lead to a poor visitor experience.
Adding Additional Features #
This view of posts can be considered the bare minimum, as the contents and other information relating to the post are not displayed. Select the Post Template from the breadcrumb trail to add more features, then the Block Inserter icon. Using Browse All, select the required block(s) from the Themes section
The most commonly used blocks used to enhance the visitor experience include:
- Pagination: To prevent excessively long lists of posts, as the number of displayable posts increases, WordPress will place a defined number of posts on individual pages. The pagination block is positioned within the query loop, but outside the individual post template. The maximum number of posts is defined within the query.
- Excerpt: will provide a short extract (55 words) of the post. When the post is displayed, a “…” icon indicates that only an extract is displayed. To ensure that the reader is aware of more text, the statement Add ‘read more Link’ text should be completed.
- Post Content: if you wish to display the complete post, not just the extract.
- Date: The format of the date can be changed as required. A “X Months ago” option is available.
- Author: This option will provide the author’s name, together with their avatar and biographical details. The name displayed will be the one set in the user profile. It is recommended that this option not be used.
- Author Name: will display the author’s name as entered in the user profile.
- Post Featured Image: displays the post’s featured image, which is separate from any images contained within the post.
- Categories: This will display a post’s category. The content provider may add text before (prefix) or after (suffix) the list of Categories.
- Tags: This will display a post’s tags and allow the user to select posts with identical tags. This is similar to a Tag Cloud. The content provider has the option to add text before (prefix) or after (suffix) the actual Tag(s).
The post’s heading can be set as a link by selecting Make title a link in the header sidebar. This will allow the visitor to open the post directly.
Defining the Query #
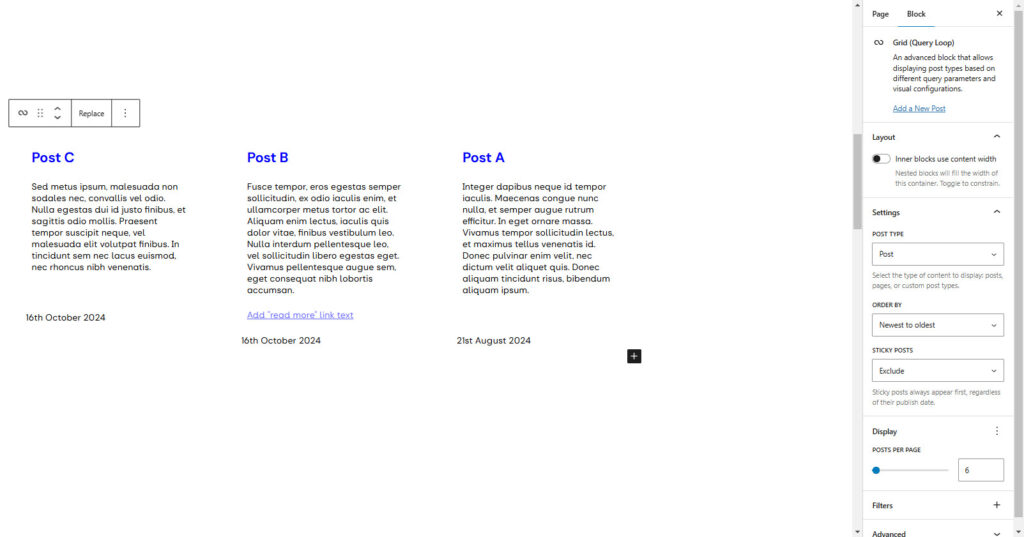
A u3a website can contain many individually configured query loops. To configure a Query Loop to show only the required Posts with specified categories and tags, use the options available on the right-hand sidebar; select the Query Loop, not a display element, and the breadcrumbs at the bottom of the screen will help. Then, from Query Type, select Custom, from which several options can be selected:
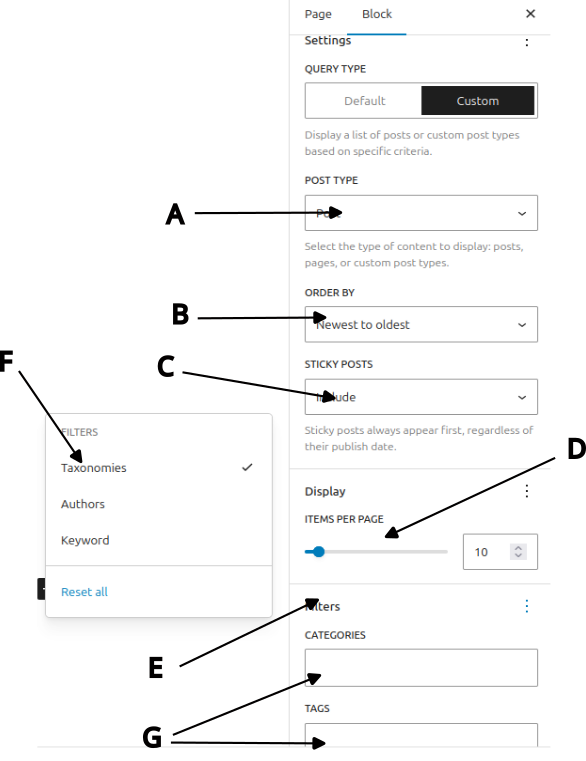
- In SiteWorks, several different Post options are available, including conventional Posts, together with Group and Event information. from POST TYPE (A) to display Posts, Groups, or Events within the Query Loop.
- Use ORDER BY (B) to define the order of display, either by creation time or by alphabetic order.
- Sticky posts can be included, excluded, ignored or those which are displayed, by using the STICKY POST option (C)
- The number of ITEMS PER PAGE option (D) determines the number of items displayed. It is recommended that this be a reasonable number to ensure the query loop display is a reasonable size.
- To incorporate a filter, select the FILTERS option (E), this display a small submenu.
- Select Taxonomies (F) to access the Categories filter. Posts can also be filtered by Keyword if required. It should be noted that while the Author term is listed in the available option, it is disabled in SiteWorks as a security measure.
- If Taxonomies is selected, enter the required categories and tags; these will autocomplete as you type (G).
Displaying a Featured Image Block #
The Featured Image can be displayed by incorporating the Featured Image block into the query loop. Adding a featured image to a post is discussed here.
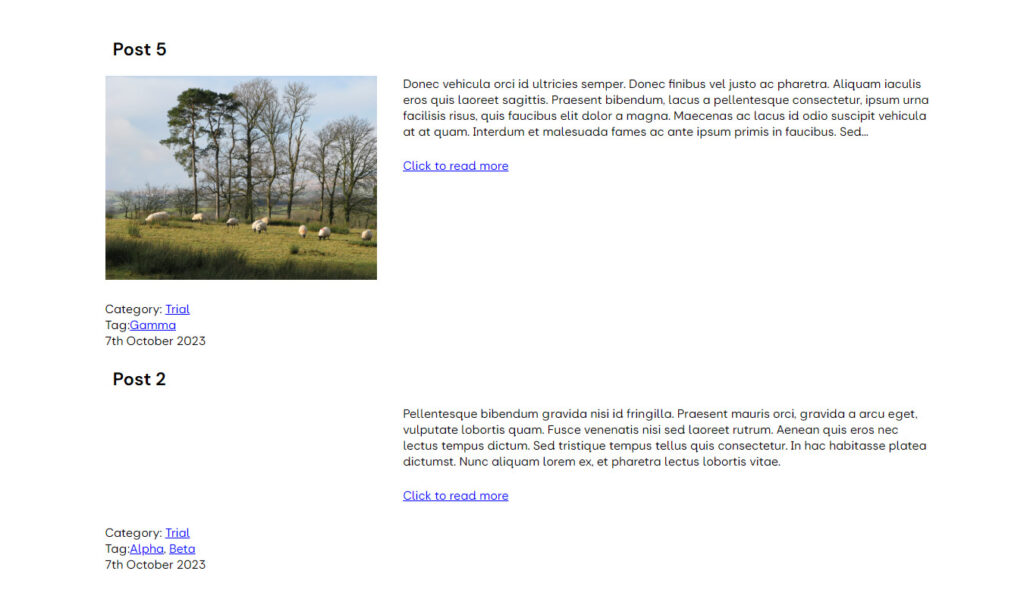
In the example below, a 30:60 column arrangement has been used, with a Post Feature Image block placed in the left column and a Post Extract block in the right column. When a Feature Image has not been uploaded, nothing is displayed to the left of the text. When Click to read more is selected, the complete post is displayed, without the Featured Image.
Using the Choose Option #
If the Query loop ⇒ Choose is selected, the content creator is presented with several different layouts, populated with ALL posts available.
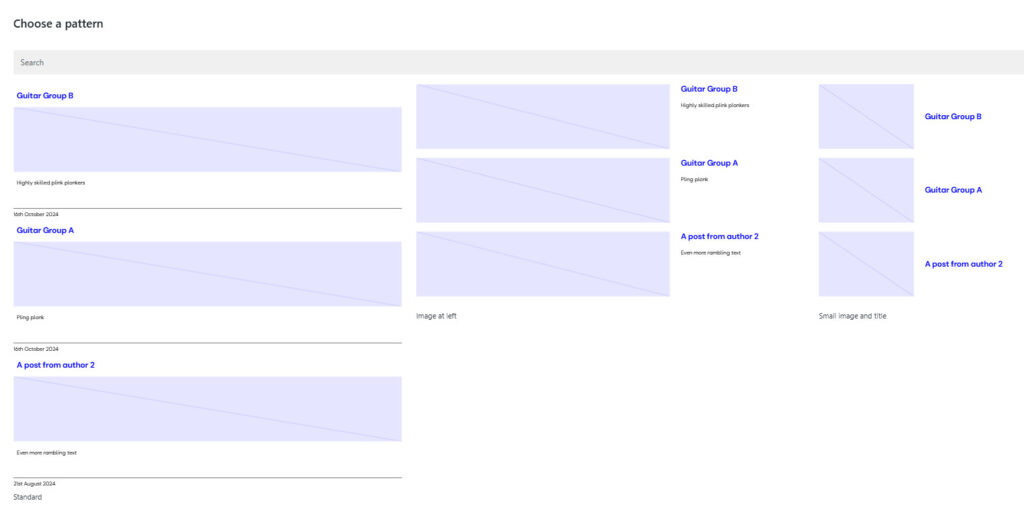
Depending on the application, various display options are available, with and without a featured image. Once the pattern required is selected, it is displayed. To fully complete the process: The Add text or blocks that will be displayed when a query returns no results, and the Add “read more” link text should be completed,.
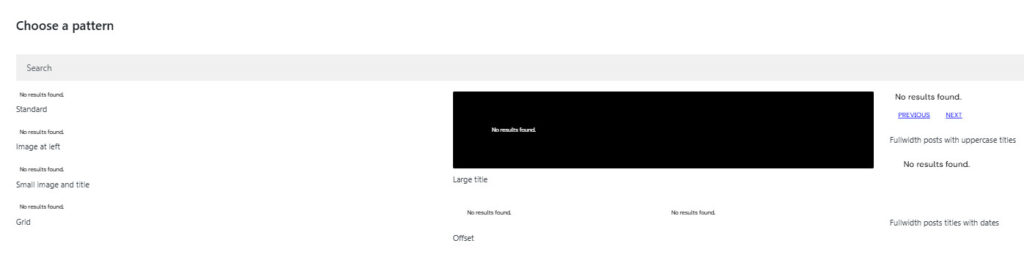
If no posts have been created, the Choose a Pattern screen will be very sparse, as “No Result” is shown in all cases:
If the Grid option has been selected from the available patterns:
Selecting the query loop, the following options are available:
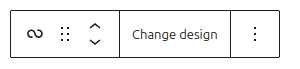
From the Toolbar:
- Transform the Query Loop into another block type.
- Drag the block up and down the document.
- Move the Query Loop up and down the document
- Change the pattern (or design)
- Other options include the deletion of the Query Loop.
From the right-hand sidebar, the following options can be configured.:
- Layout: The width of the inner blocks is constrained if selected options are available to resize the inner block elements.
- Settings: Select the Post type, order and how to treat a sticky post.
- Display: Number of posts per page
- Filters: How the posts are selected for display.
- Advanced: Adding an anchor.
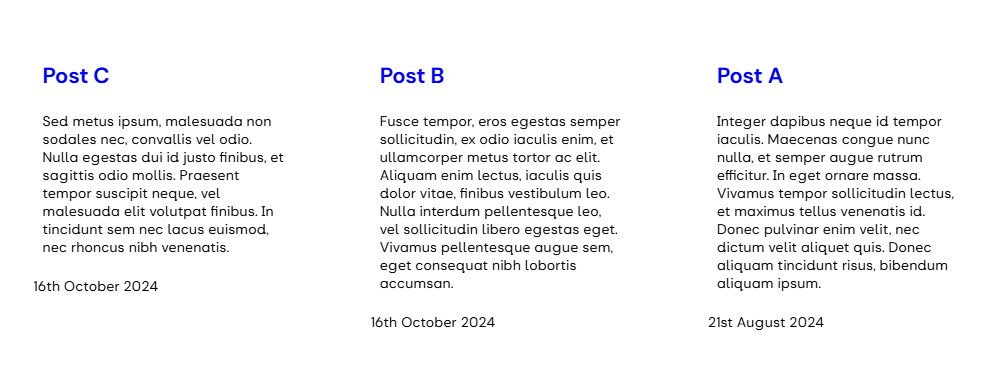
A grid Query Loop is displayed as:
If new features are required, they can be added as discussed above, or if not required, they can be deleted using their toolbar.
Extending Query Loops to Group and Events #
In the Query Loop setting, you can set POST TYPE to Post or other options, including Groups and Events. If, for example, it is required to display forthcoming meetings on the Home Page, a Query Loop, with POST TYPE set to Event, the Filter set to Taxonomy, and the Category set to Meeting can be used. It should be recognised that this does not filter by group, hence all events classified as Meetings will appear. This contrasts with the Events Widget, which will filter against the Group, depending on the group page on which it appears.
If a content creator uses a query loop to display groups and events, the query loop block is not able to display the underlying u3a data (e.g. group status, event start time). This can be resolved using the MFB (Meta Field Block) plugin. For further information, see the MFB Documentation.
Adding Additional Information to a Query Loop Result #
Group or Event specific information can be added to a Query Loop using the MFB. On completion of the basic query block, the following additional steps are required:
- From the Block Insertion tool, select the MFB. The new block is added within the Query Template and should be verified using the Breadcrumb feature.
- In the right-hand sidebar:
- Ensure that Field Type is set to Default ‘meta’.
- Enter the name of the required field into the Field Name.
- If the Hide Block if the value is empty option is deselected, an option to add text when no value is present (e.g. No venue is specified) is available.
- Enter the Prefix and Suffix if required.
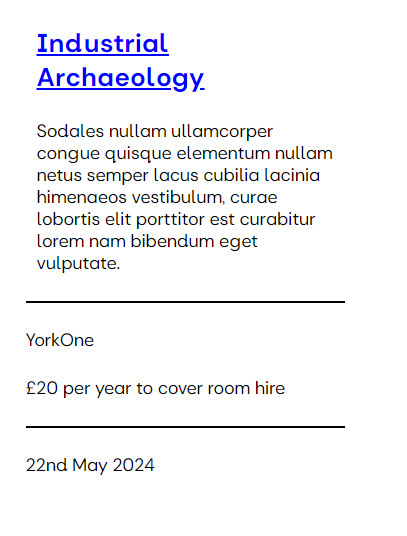
The editing and display views are shown below:
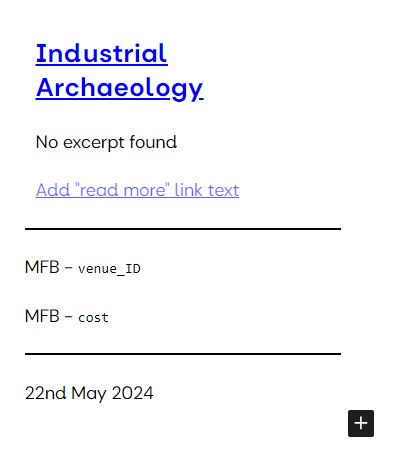
(a) The page edit view of a group with two MFB options entered
(b) The group information as seen by the visitor.
Available MFB blocks. #
The Meta Field Blocks available in SiteWorks are as follows:
| Group Metadata Name | Description |
|---|---|
| status_NUM | The group’s status (not optional). Note this displays the “long” version of the status as detailed here. |
| day_NUM | The group meeting day (rendered as text) when provided |
| startTime | The meeting start time is rendered as HH.MM when provided. |
| endTime | The meeting end time is rendered as HH.MM when provided. |
| time | The group’s tutor’s name (rendered as text) when provided |
| frequency | The free-text description of when the group meets is provided |
| when | The free-text description of when the group meets is provided, if available. |
| cost† | The free-text description of the cost, when provided |
| venue_ID | The venue title (rendered as text) when provided |
| coordinator_ID | The primary group coordinator’s name (rendered as text) when provided |
| coordinator2_ID† | The second group coordinator’s name (rendered as text) when provided |
| deputy_ID† | The deputy coordinator’s name (rendered as text) when provided |
| tutor_ID† | The group’s tutor is entered (rendered as text) when provided |
| email† | The free-text description of when the group meets is provided |
| email2† | The group’s email (rendered as an email address) is provided, if available. GDPR should be noted. |
† These options will only be active if selected in the Fields Required when setting up a new group in the u3a settings, as discussed here.
| Event Metadata Name | Description |
|---|---|
| eventDate | The date of the event is always rendered using the WordPress date format setting. |
| eventTime | The time of the event starts is rendered as HH:MM when provided |
| eventEndTime | The time of the event is rendered as HH:MM when provided |
| eventDays | The booking information (rendered Yes or No) when provided |
| eventVenue_ID | The venue title (rendered as text) when provided |
| eventGroup_ID | The name of the organising group (rendered as text) when provided |
| eventOrganiser_ID | The name of the event organiser |
| eventBookingRequired | The booking information (rendered Yes or No) when provided |
| Venue Metadata Name | Description |
|---|---|
| district† | Address information if provided |
| address1 | Address information if provided |
| address2 | Address information if provided |
| town | Address information if provided |
| postcode | Postcode of the venue |
| access | Free text to describe the accessibility of the venue |
| phone | Phone number if provided |
| url | URL for additional information, if provided |
† These options will only be active if selected in the Fields Required when setting up the venue information in the u3a settings, as discussed here.


